

GameDev Blog # 1 - Creating pixel art for a top-down runner mobile game
Placeholders for main character, its animations and floor tiles. Start prototyping fast!


My name is Andrés. I'm an electrical engineer (by degree) and a self-taught Web Developer and AWS Cloud Architect. In the last 7+ years I have developed multiple web applications & mobile applications, deployed big infrastructures in the Google Cloud Platform and in Amazon Web Services as well, and now I'm focusing my free time on the thing I really love to do: making games.
Going back to game development... sort of
Back in my university days, in all the programming courses that I had to go through, I made games. All the final projects were a game or a gamification of some sort. I love thinking of ways to make programming fun.
After these years in the industry, I want to go back to my roots. So, a big chunk of my free time will be used to create fun games, write this blog posts and hopefully provide some value to you with the stories themselves or with the lessons/tutorials I'll be putting out here and in my (future) YouTube channel.
To kickoff this journey I'll be making my first 100% done-by-me, commercially available, mobile game. I chose to make an endless runner game.
Why an endless runner game?
I'm a vivid gamer. I love playing action-adventure games. Ones with engaging stories like The Legend of Zelda, challenging fast-paced 2D side scroll platforming like Mega Man X, or my favorite genre: metroidvanias! Series like Metroid, Castlevania, Shantae and Hollow Knight are the ones that I enjoy playing the most.
But, when thinking about mobile games, this sort of gameplay is a little bit complicated to enjoy on the go. They need to have simpler controls for them to be fun to play while keeping up with stuff around you. Usually I'm doing other things or waiting for stuff to happen when playing mobile games.
Because of that, from the very start of my mobile gaming journey, I fell in love with the game "Geometry Dash". So much fun, good music, good challenges and you only needed to tap.

If you've been living under a rock, and never heard about this game, go get it now! Here are the links to the Apple Store and Google Play.
And after that, the genre that actually hooked me was the endless runner. Some of the mobile games that I've played the most are of this genre. Here are a few:
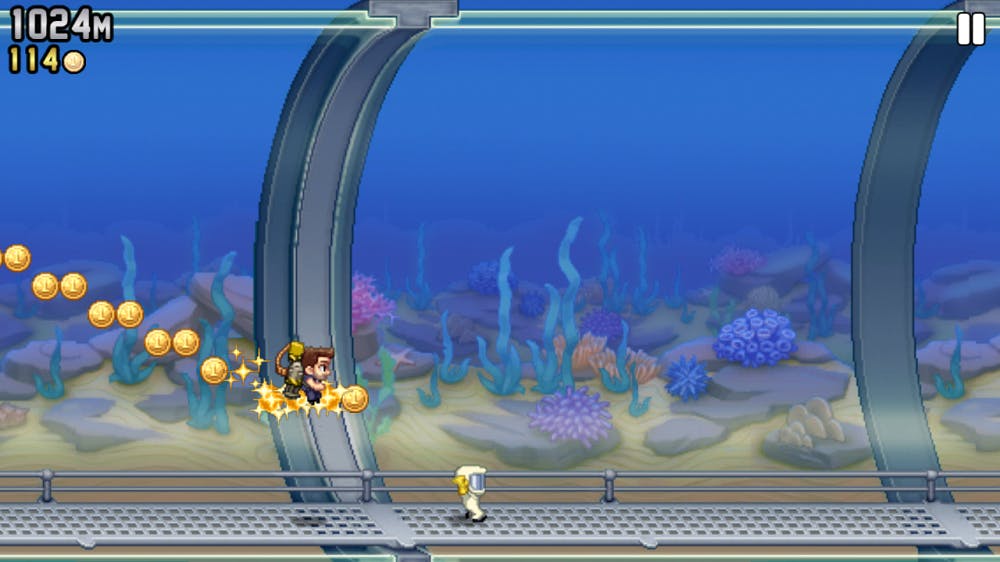
Because I really love playing them, and they have a simple premise, I chose to make one.
The Game
The idea of the game is to have three possible vertical paths to run in. The main character will run upwards in them and you are in charge of dodging obstacles and attacking enemies while grabbing collectables and powerups to keep the run alive as much as possible. This is the basic idea and some other mechanics will be added, but I'll leave them secret for now and bring them up on a later blog post.
With that description I started to think about the assets required and the best art-style that me, a technical guy with no art background, was able to deliver. So, here is that list:
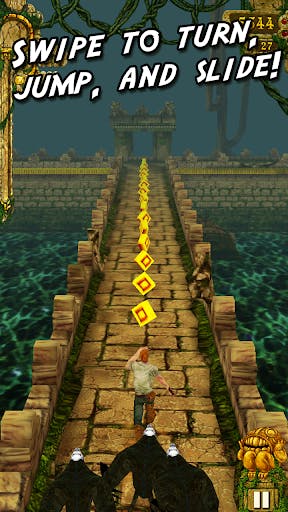
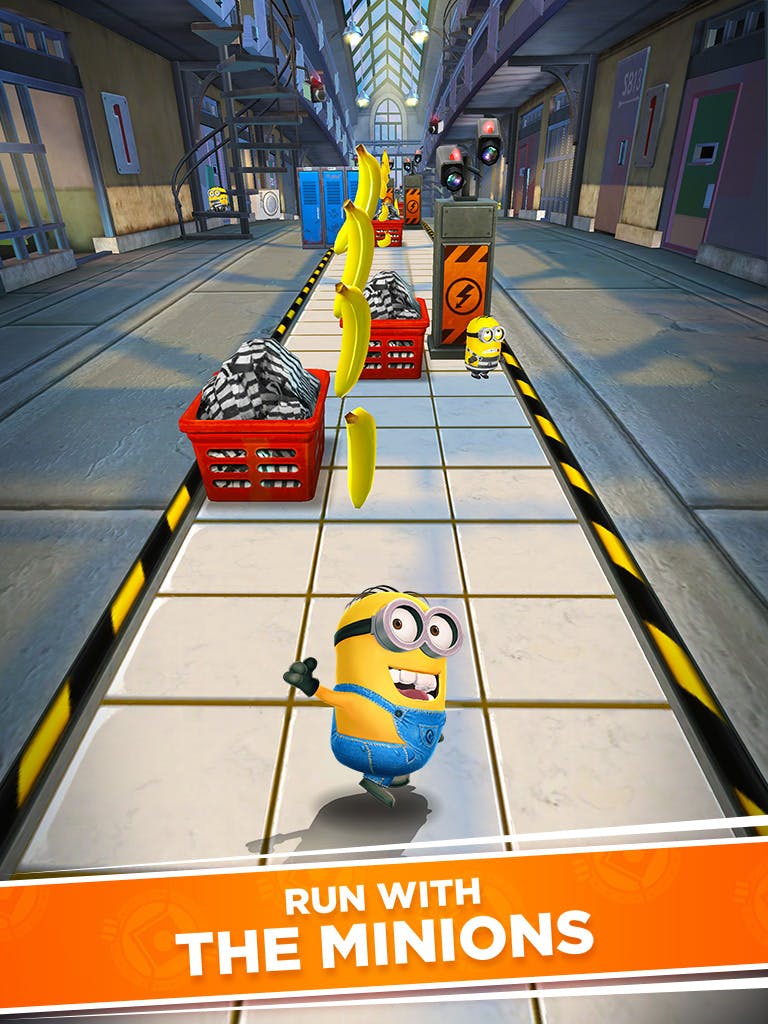
- Because I'll be running upward, I'll need a forward running animation for my character. Similar to the ones seen in Temple Run or Minion Rush.
- The floor and environment assets.
- Some HUD elements.
- Collectables and powerups.
- They'll need to be simple and reusable.
Because of my artistic limitations and the fifth point in the list, I decided to go with the pixel art style. Also, since the game features a character running up, I'll go with the top-down/rpg point of view, similar to the Game Boy Pokémon games.
This will enable me to have simple but cool graphics and to produce different tile sets for the scenarios. All of that put together will make the game look nice (hopefully) without getting me too deep in the art-side of things.
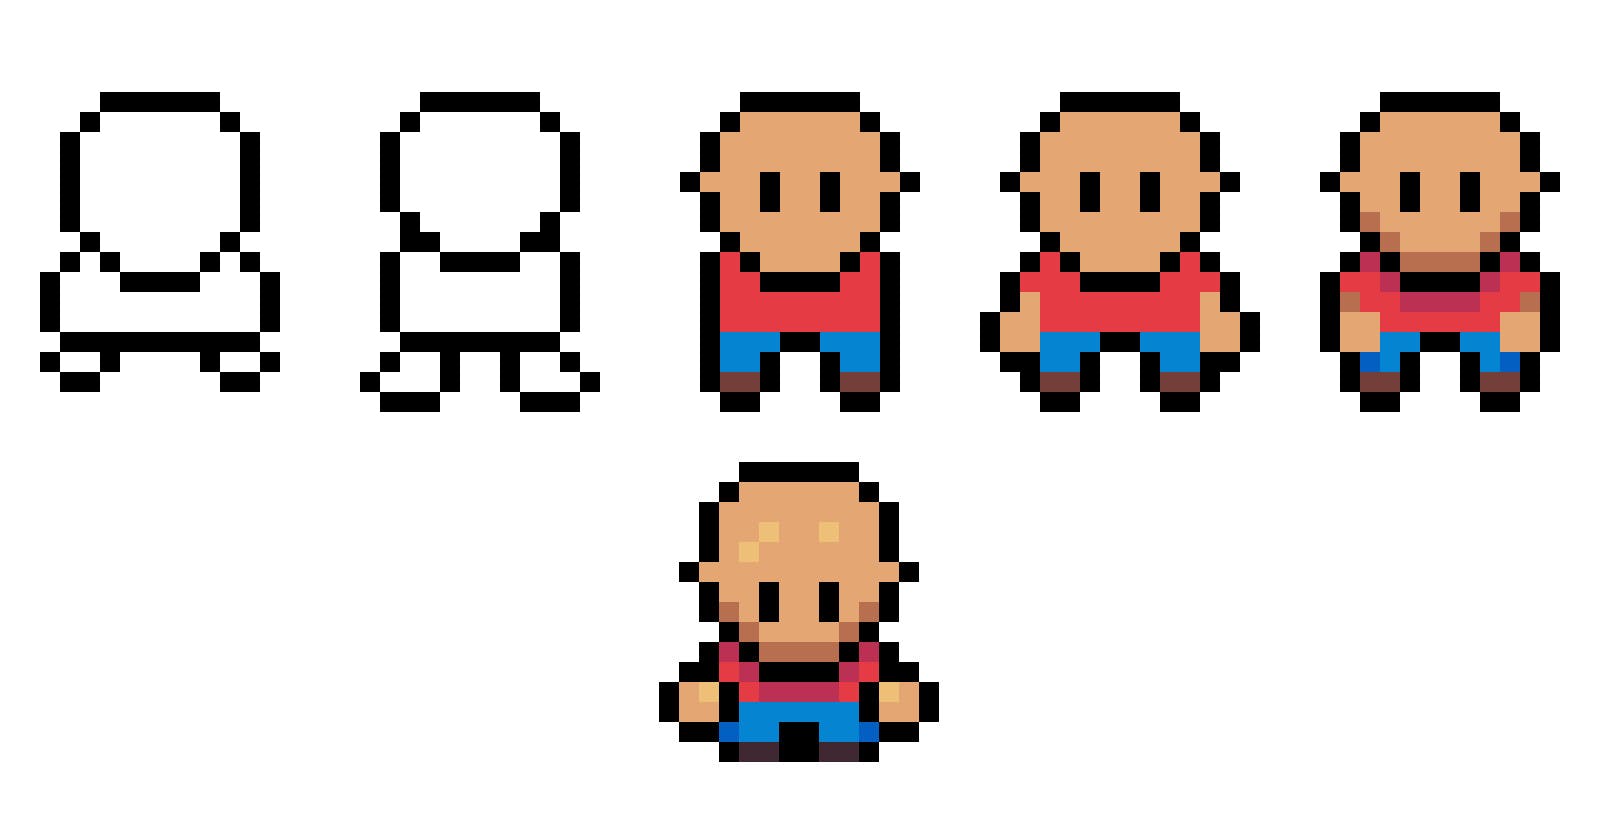
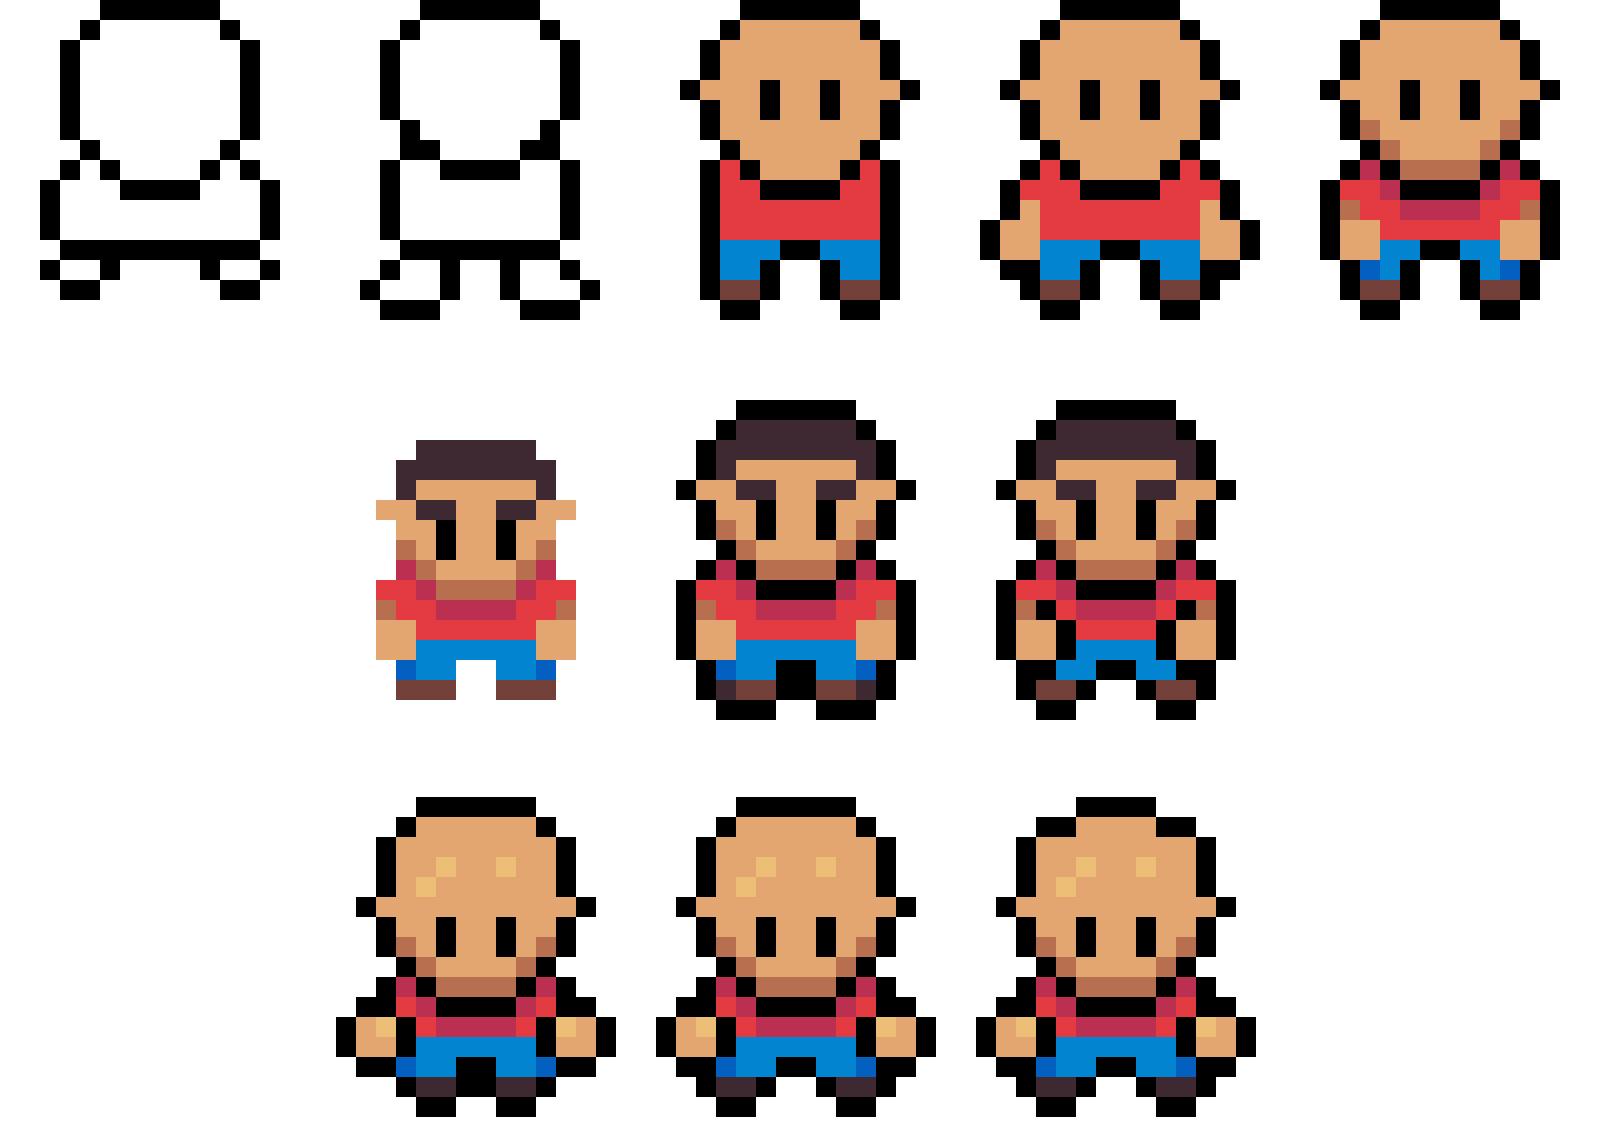
The main character design (placeholder)
For the main character, I challenged and limited myself to a 16x16 canvas. Since I'm a noob I thought that a bigger canvas might give me a lot of freedom and options that I do not know how to capitalize. Because of that, and because 8x8 is very small, I went with the 16x16 size.
I created a big 128x128 canvas in an iPad App called Pixaki and started iterating. I laid out some basic figures for the head, torso and legs. After that I added some colors to identify those parts and create some detail. Then tried to bring in the hands in a couple of different ways. Added shading. Tried to add some outlines inside the character as well to better separate the arms. Added more details with the eye brows and hair. Made a spinoff without outlines. Then took a step back, removed the eye brows and hair. Added some highlights in the bold head and ended up with three options for my character, with slight differences in the head and legs. The following image shows a little bit of the creative process just described.
By the way, I love the Pixaki app! You can find it here. It goes a bit into the expensive side at $26.99. But it is a one time payment and is totally worth it if you enjoy pixel art on the go. A good free alternative for pixel art is the online tool Piskel, the open source Aseprite (you can build it from source, download a free old version or pay $20 for the latest version), and finally another great tool is Pyxel Edit, is cheaper than the other ones at $9 (except for the free ones) and is packed with awesome features, such as its tile system.
Since I was not completely sure on which one to keep, I decided to ask Twitter for a little bit of help!
I made the poll hoping for guidance of some sort and thankfully I did get a few responses and tips even when my Twitter account is absolutely new! I'm starting from scratch at the moment but I'm doing my best to proudly build in public!
I ended up picking option A.
The character animation
For the animation of running I started looking at tutorials on YouTube and I came across this tutorial made by the one and only Pedro Medeiros. The full list of Pedro's pixel art tutorials can be found on his Tumblr blog. If you are into gaming or game development, and you don't know Pedro, you should! He is amazing! Go follow him on Twitter: Pedro's Account. He worked in Celeste for Christ's sake!
After analyzing his tutorial I found out that I could get away with only four frames to make the complete running cycle animation. So that's what I did. To practice and polish my pixel art skills I decided to make not only the north running animation (upward), but also the south running animation (downward).
Here are the four frames I ended up with side by side:
| Running south | Running north |
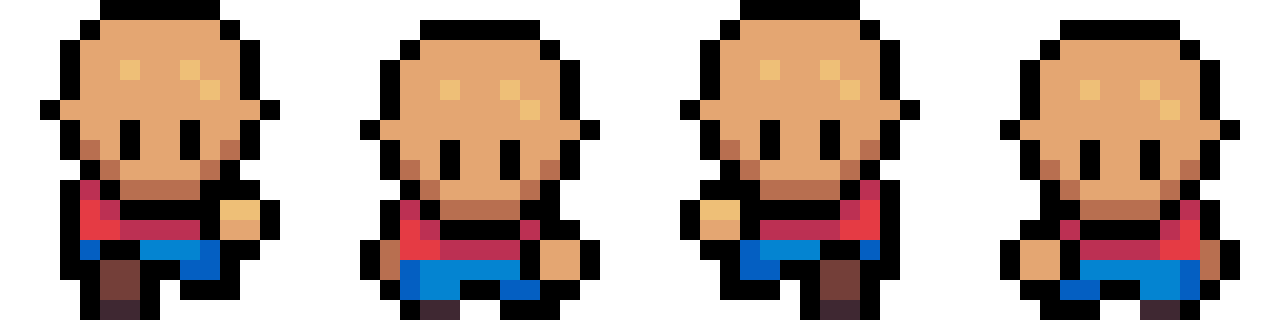 | 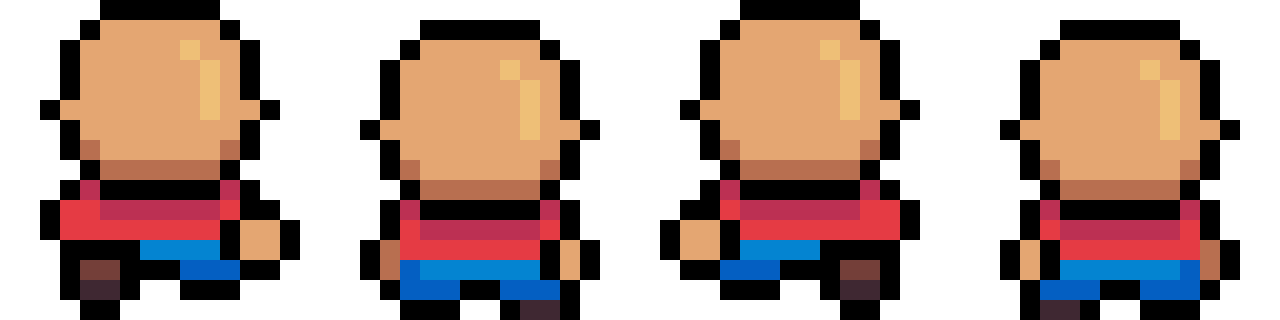 |
And here is the complete run animation taking the "weights" the tutorial gave. Having 10 frames for the whole animation, 5 on each side. 3 of them have the leg completely extended and the other 2 are for the transition to the other side.
One important thing to mention here is that I ended up removing the bottom pixels of the outline on his feet. That gave me one pixel of extra room for the run cycle animation, since I needed the sprite to go up by one pixel to give the illusion of movement.
Note: When you walk or run you also move vertically a bit. The lowest point when you contact the ground and the highest point a brief moment after you pushed yourself forward and up, as your back foot leaves the ground.
The basic game scene
After the character and its animation were complete. I started making the background. I decided to go with a very simple ground/grass tileset that put together creates the paths the character is going to run on. While doing this I also thought that a shadow was a good thing to have, since the character will cast a shadow into the ground.
Here are the pictures of how these two turned out:
| Floor tile | Shadow |
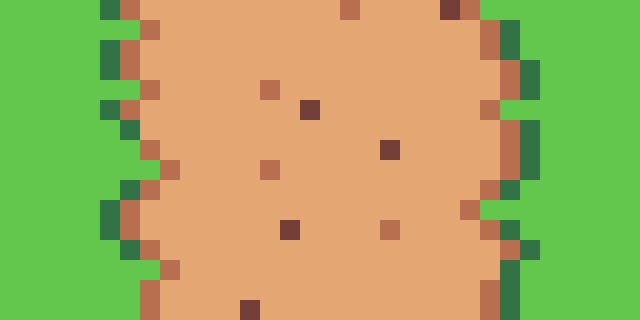 |  |
And all of it, put together in a scene, taking into consideration the modern iPhone screen dimensions (19.5 : 9 aspect ratio ) looks like this:
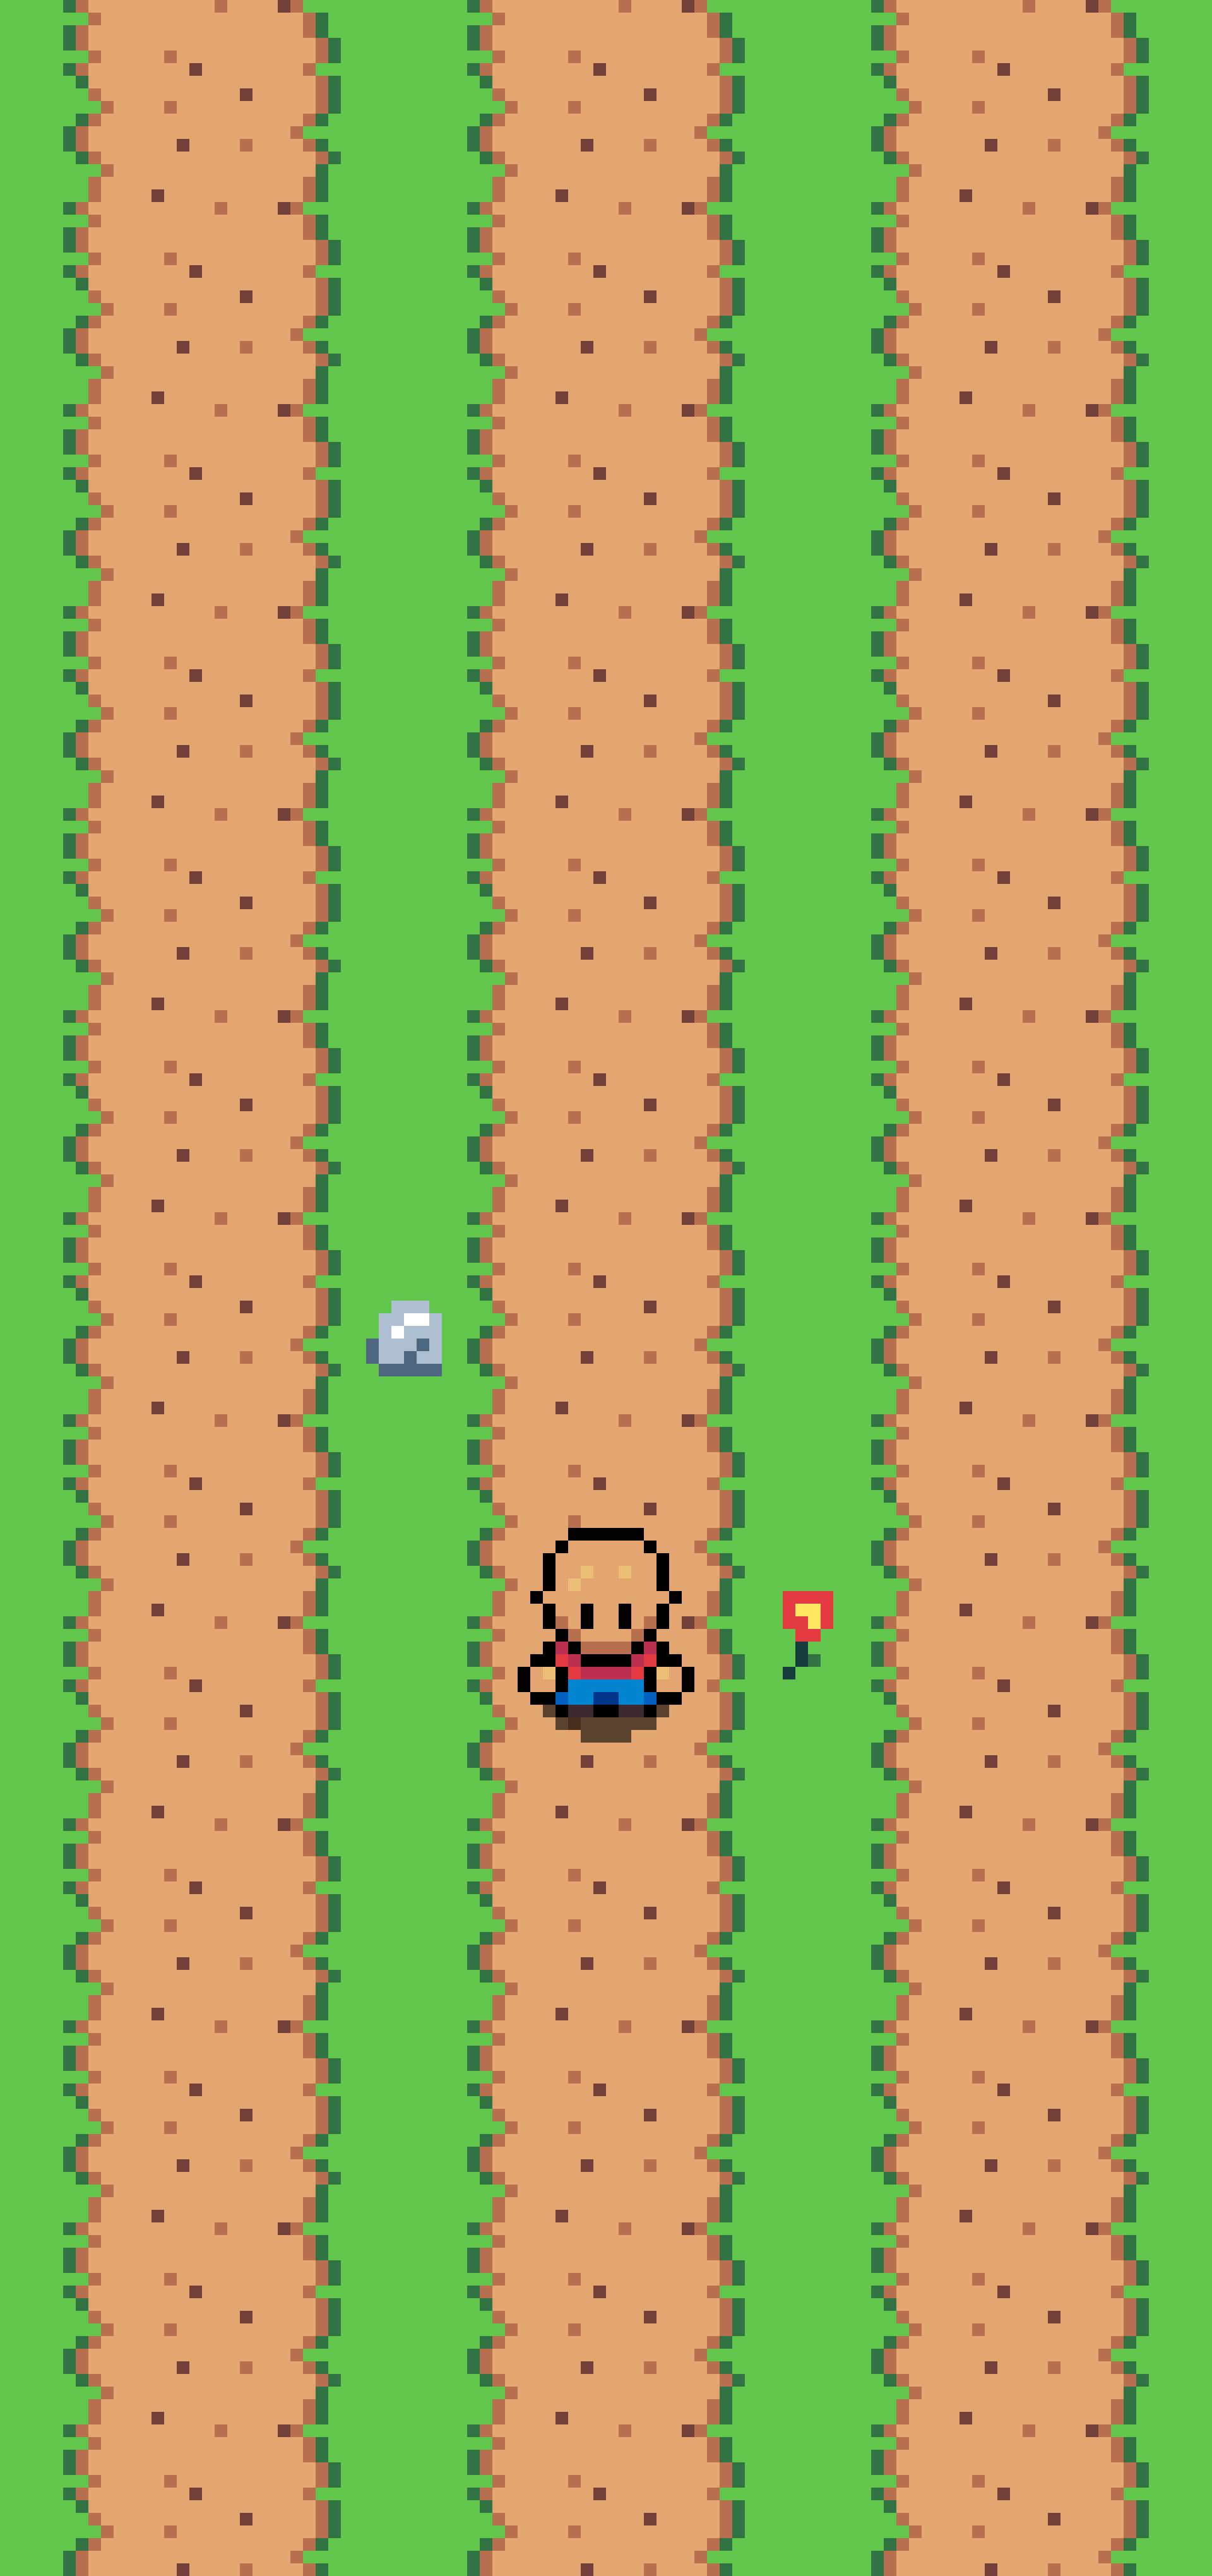
And that's it for now! I have successfully set up the base scene of the game. Even if they are just placeholders because they don't really fit the theme I have for the game, they are good enough to start prototyping.
I can't thank you enough if you reached this far in the blog post! I really hope you enjoyed the ride as much as I loved making it. In the next blog entry I'll be showing how everything in this post falls into place in the Unity Game Engine.
If you want to continue to follow this series and the game's development, feel free to follow me on Twitter.